An afternoon of making.
A little light to keep.
Allow approximately 2–4 hours of crafting, plus curing time. Take your time arranging the pieces and follow the supplied guide for mixing and finishing.
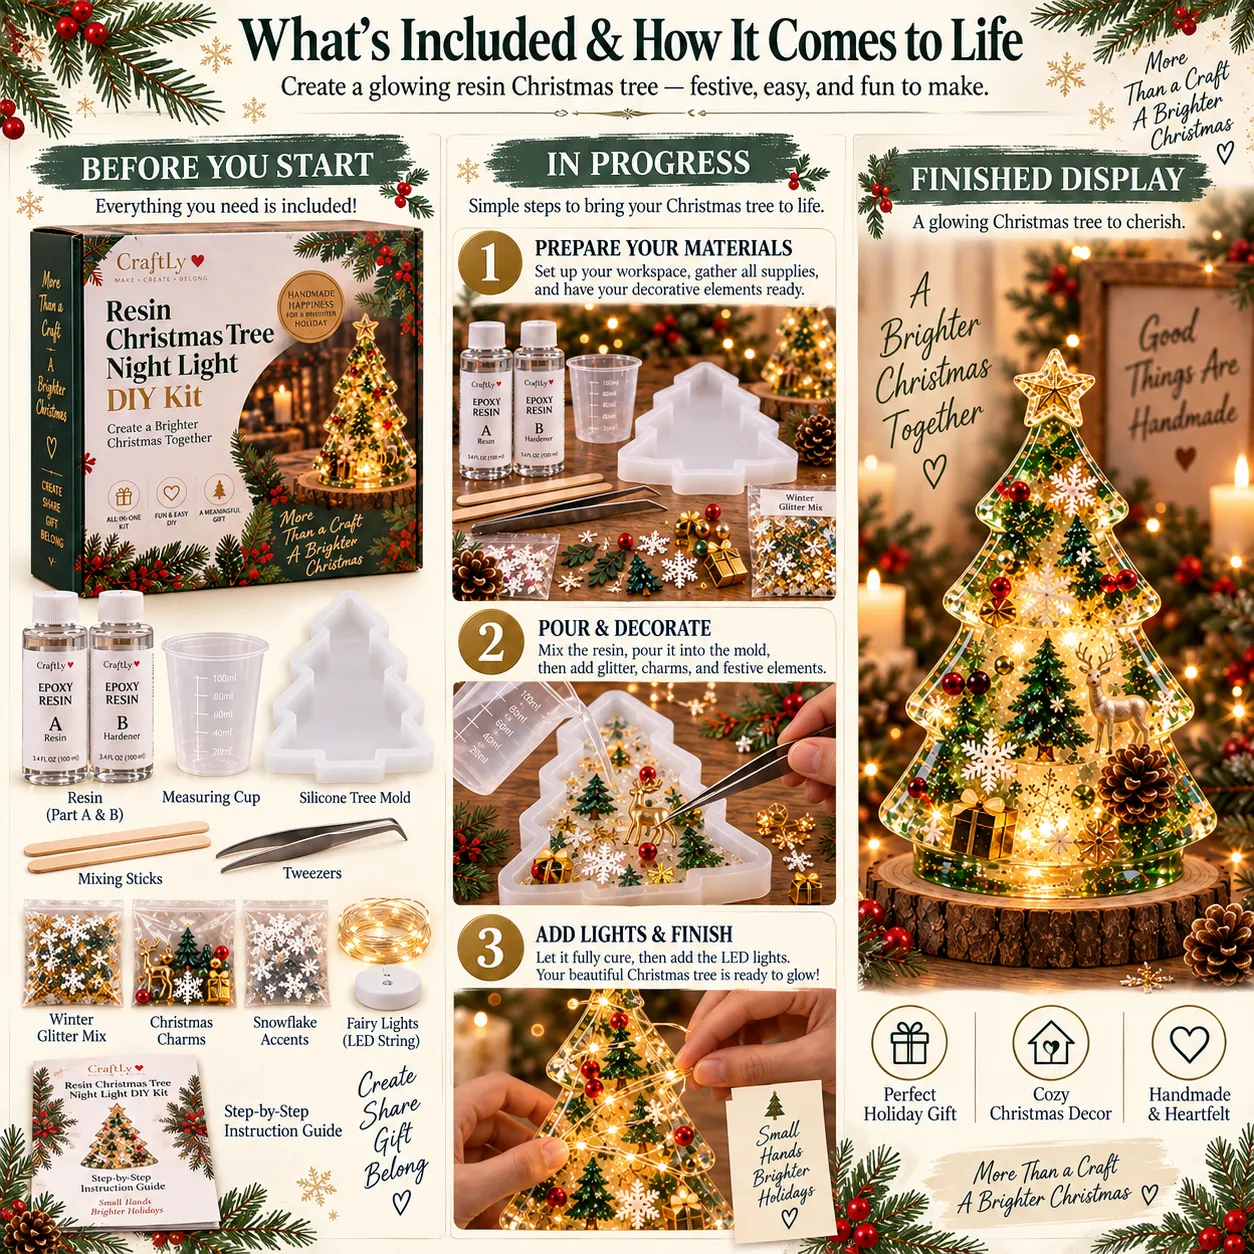
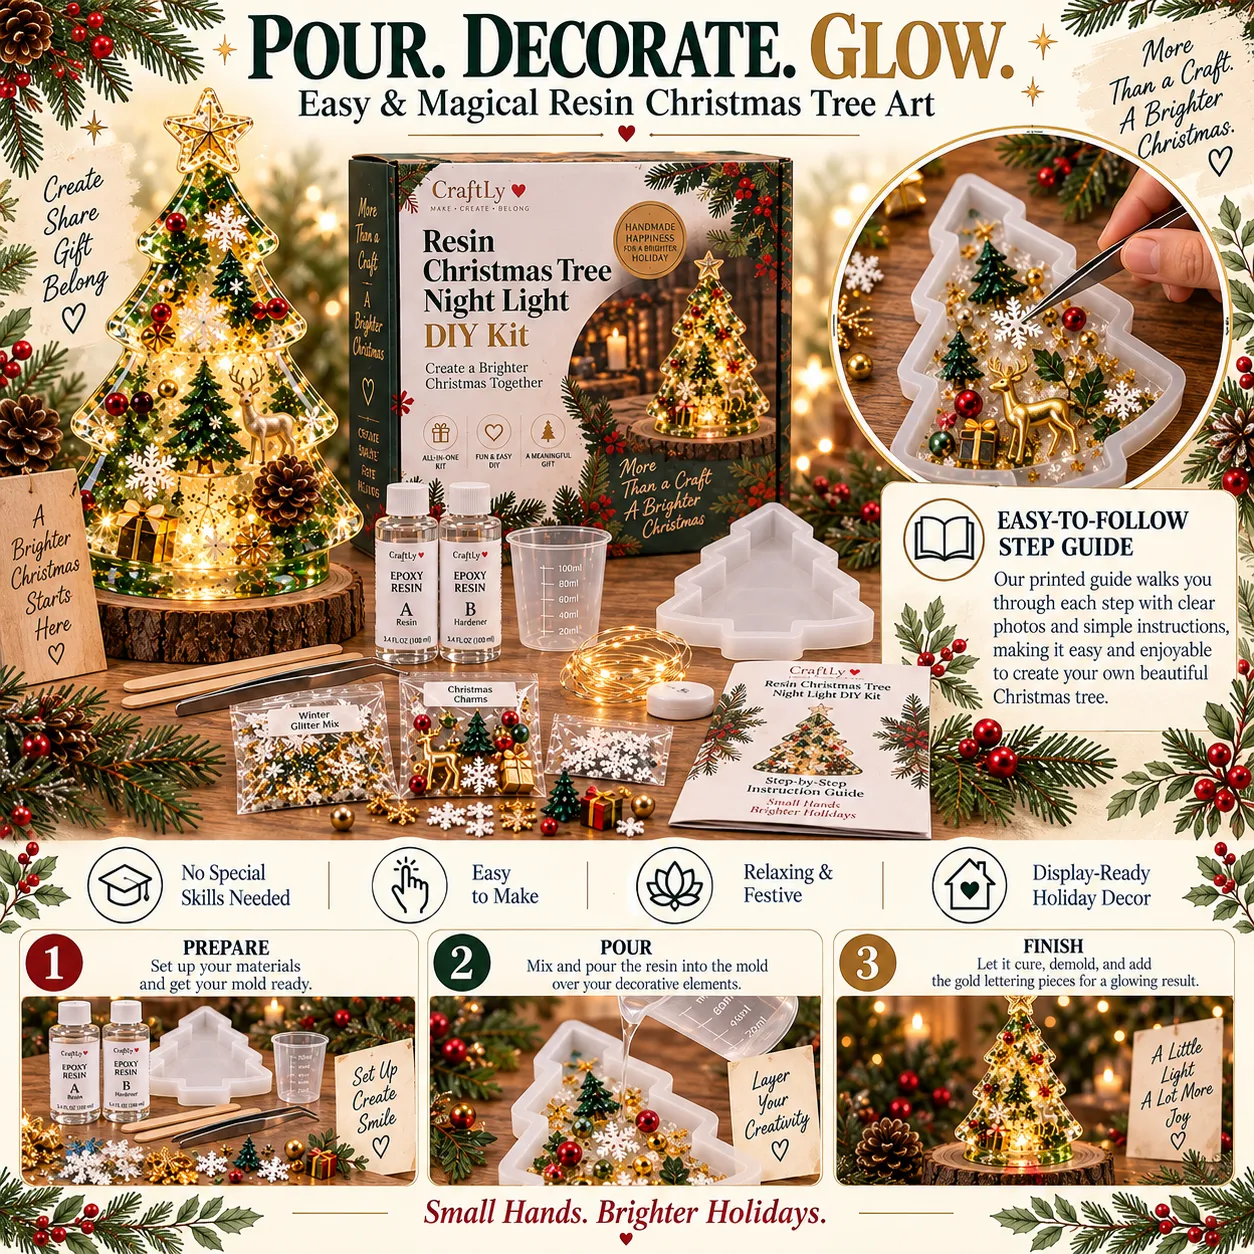
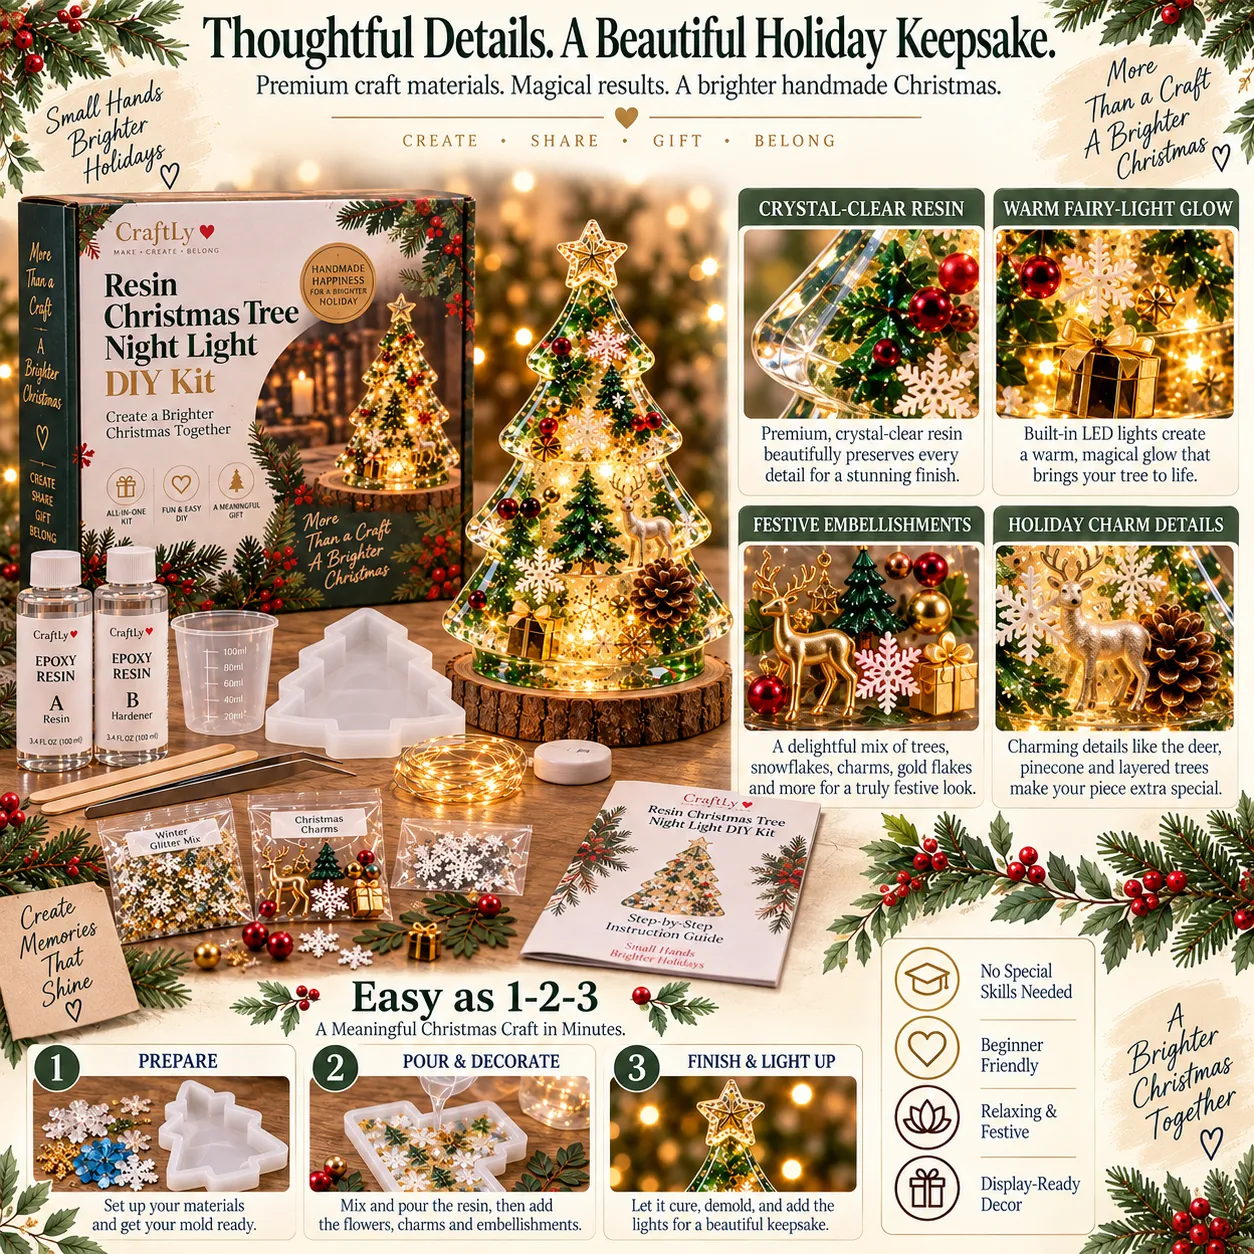
1. Prepare your workspace
Set out the mold, decorations and tools. Read the included guide and the resin label before starting.
2. Mix, pour & decorate
Mix Part A and Part B using the ratio in the supplied instructions, then pour and arrange your festive details.
3. Allow the resin to cure
Let the resin cure fully as directed before removing the tree from the mold. Curing time is additional to the hands-on craft time.
4. Add the lights & display
Follow the guide to add the fairy lights, then place your finished tree on a shelf, mantel or bedside table.
Before you start
Will I receive a finished night light?
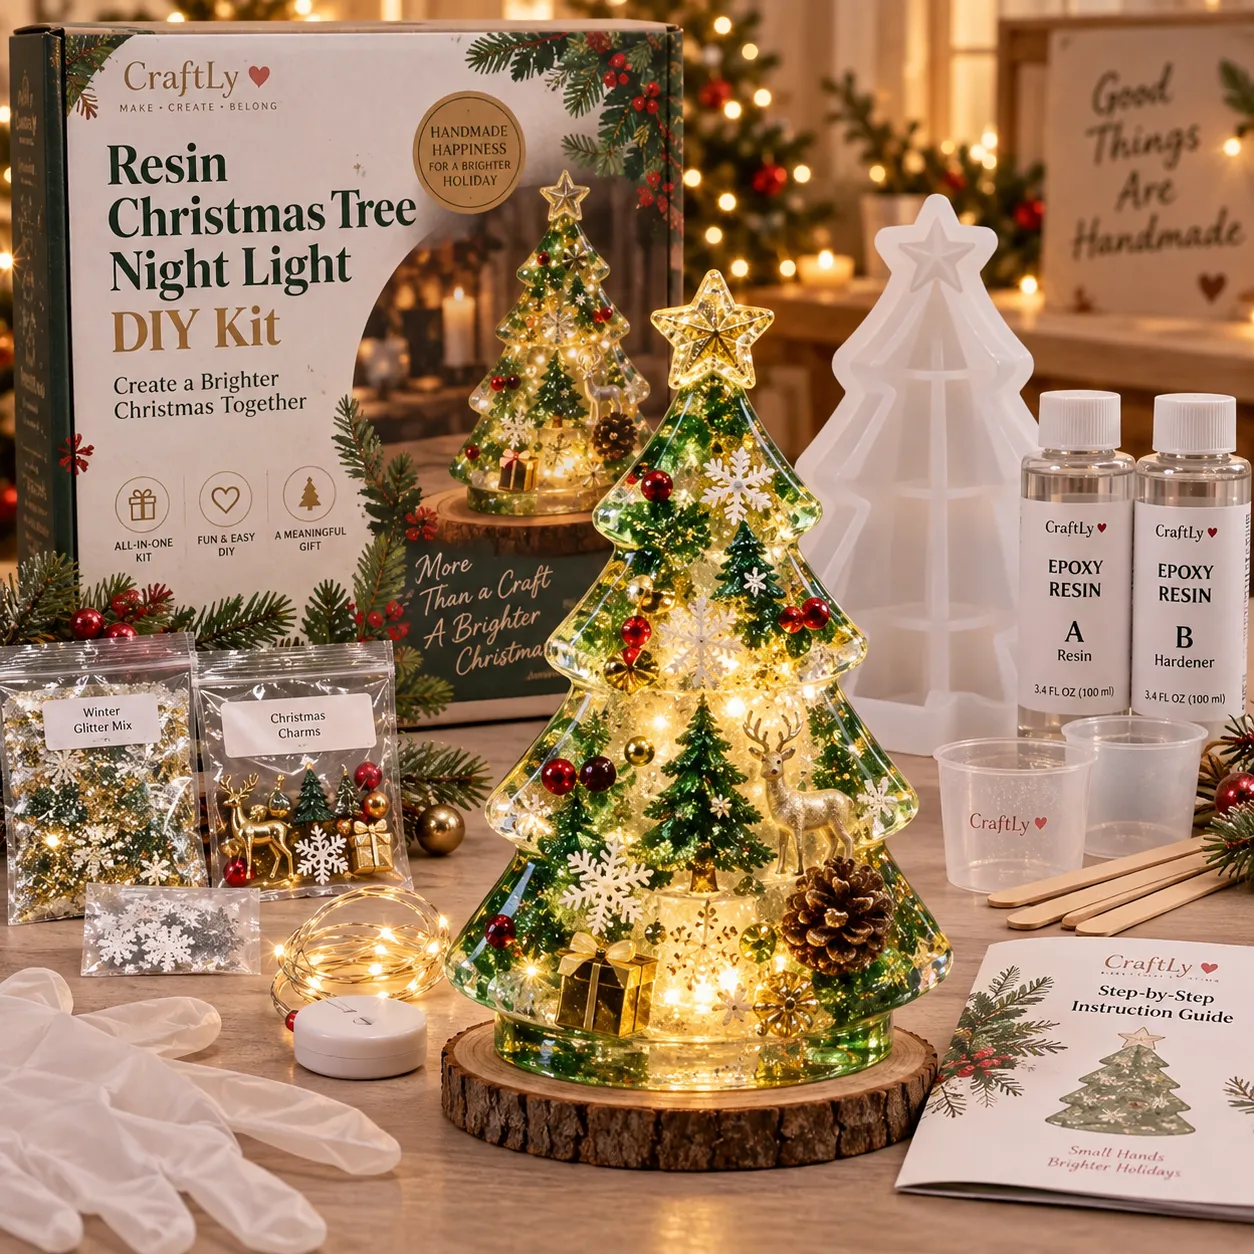
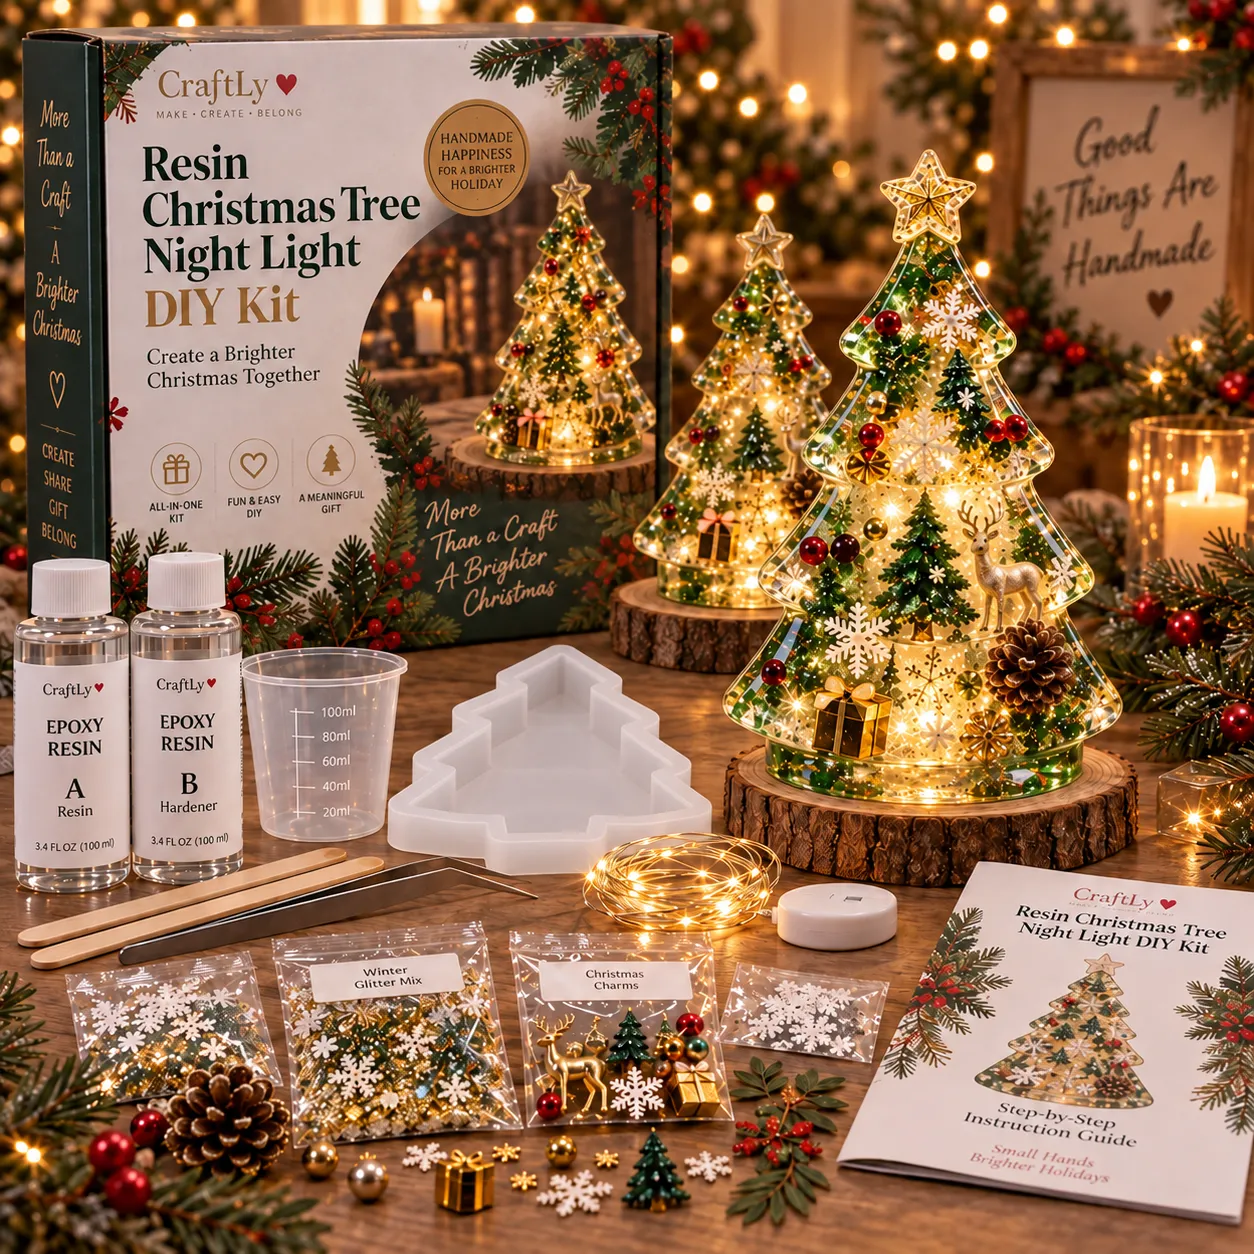
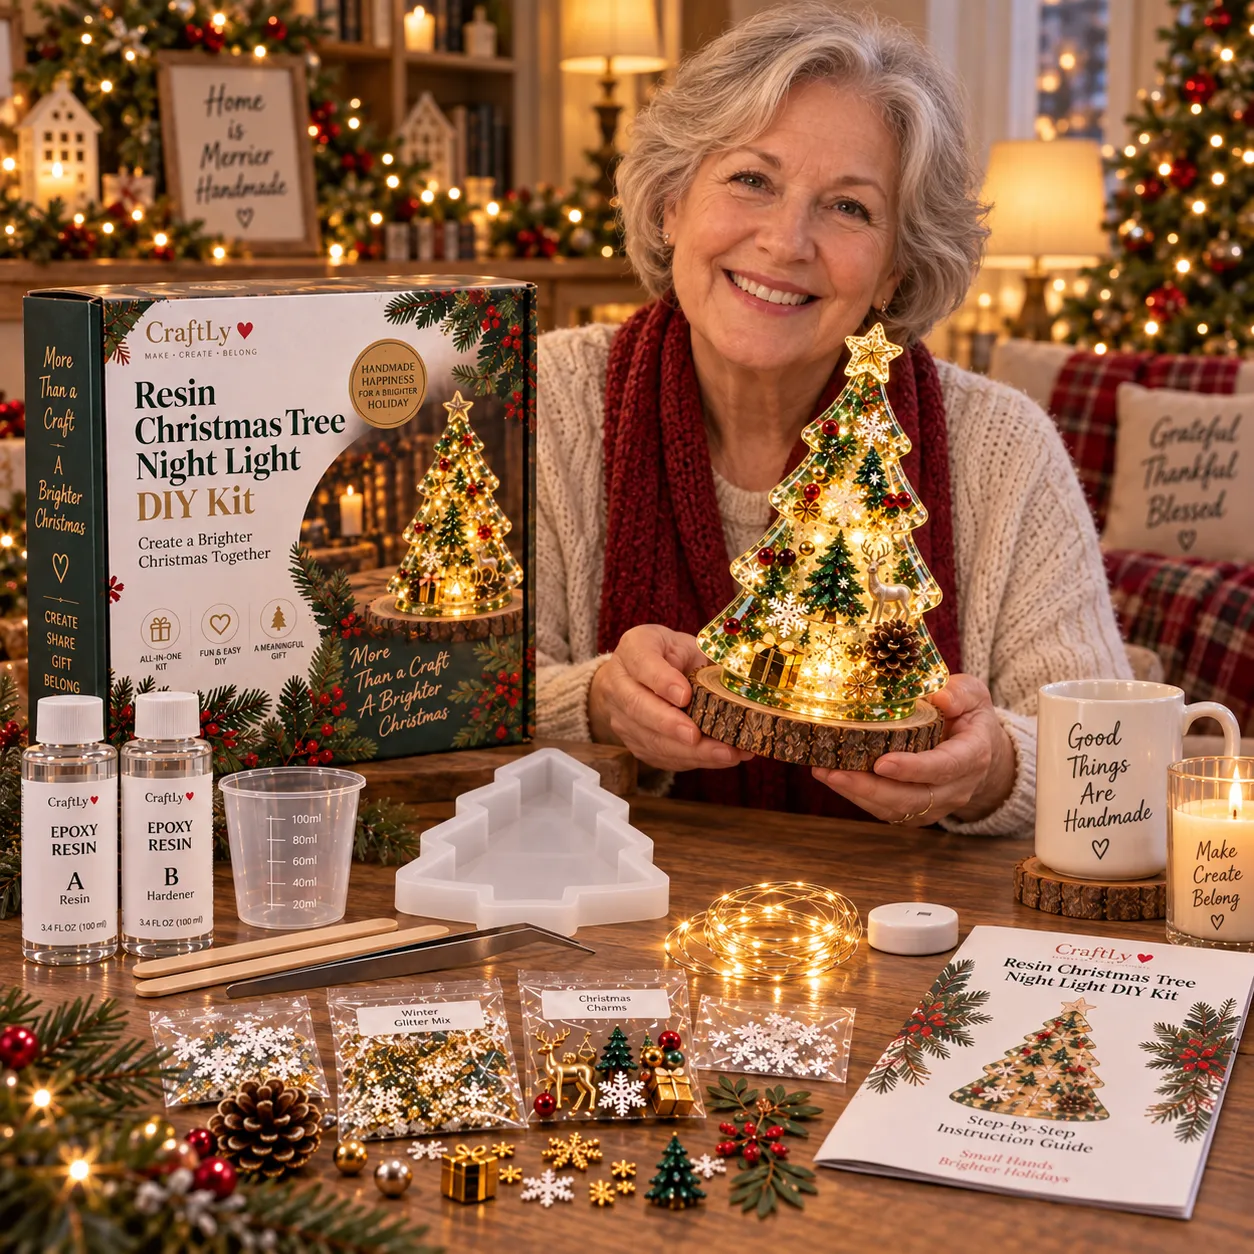
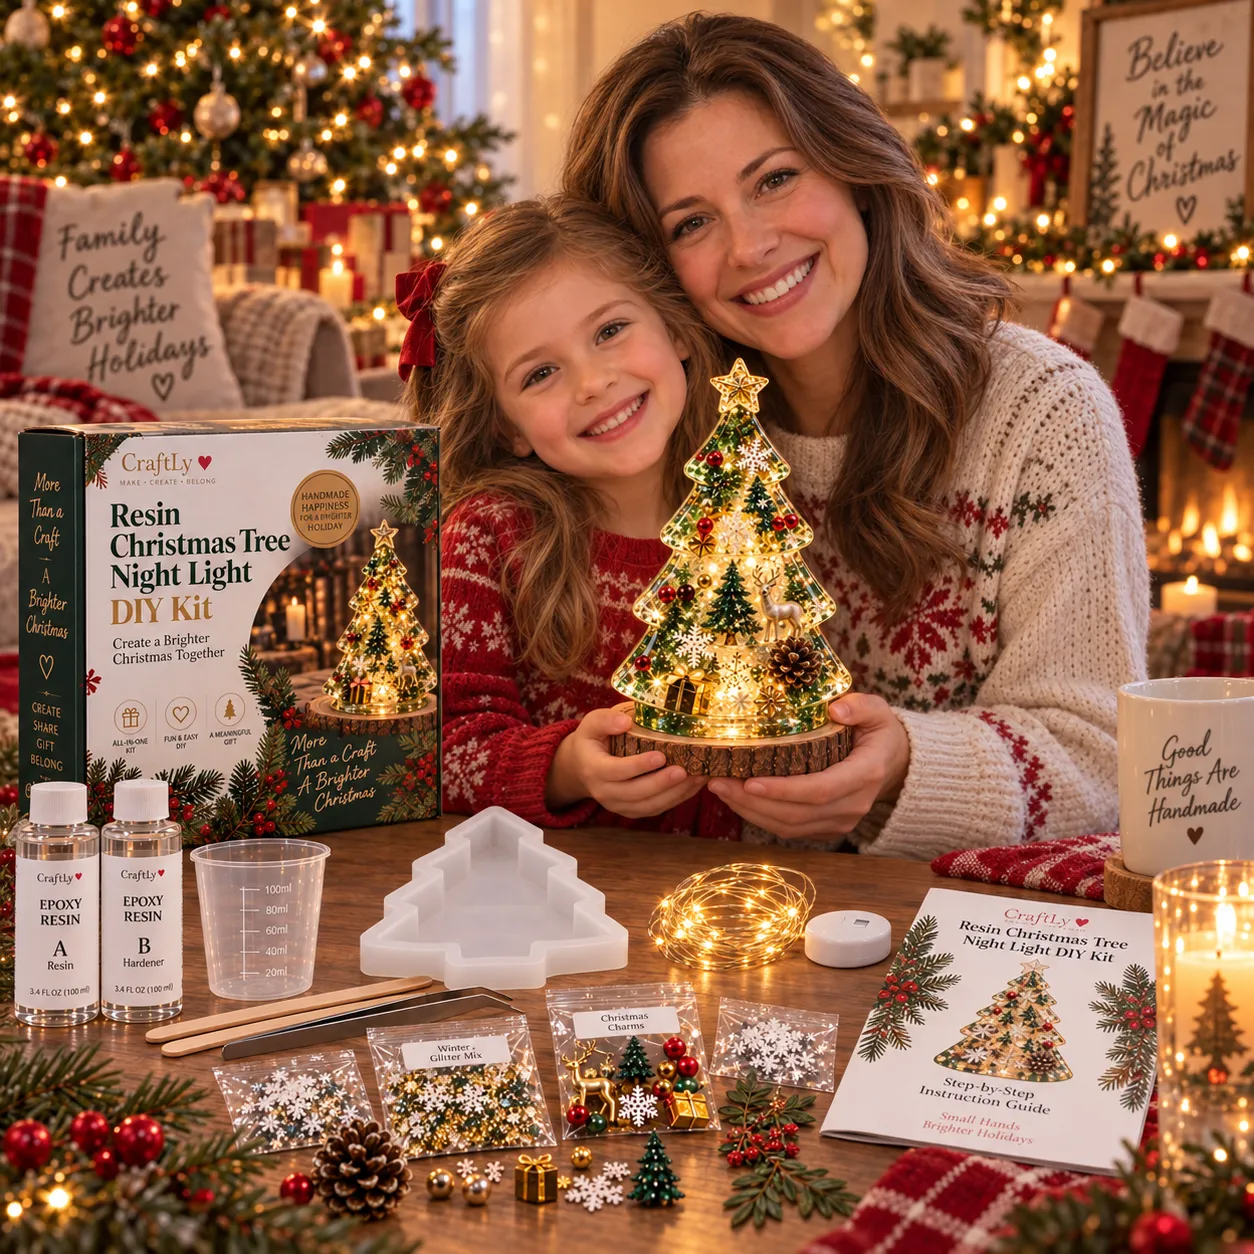
You’ll receive a DIY kit to make the tree yourself. The finished trees in the photos show the display you can create.
What is included in one kit?
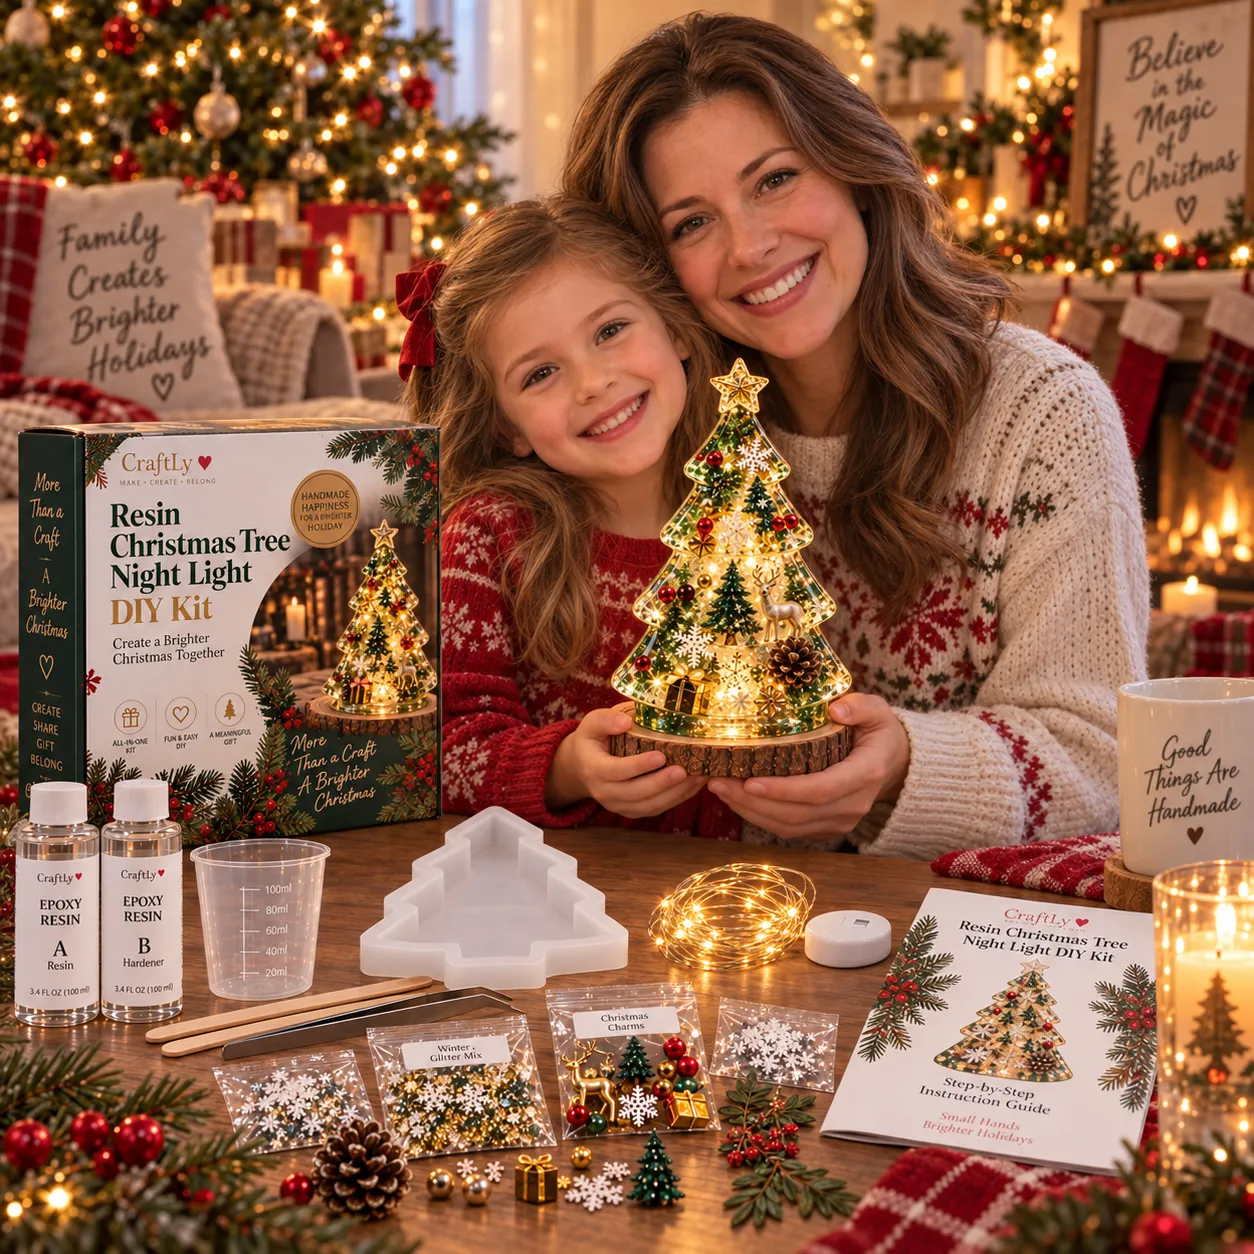
One Christmas tree silicone mold, resin Part A, hardener Part B, one measuring cup, mixing sticks, tweezers, a warm fairy-light string, snowflake decorations, Christmas charms, glitter and holiday embellishments, plus a step-by-step guide.
How big is the finished tree?
The listed finished size is approximately 5.9 × 4.0 inches (15 × 10.2 cm).
Is it suitable for beginners, and how long does it take?
The kit is designed for beginners and includes a step-by-step guide. Plan for approximately 2–4 hours of hands-on crafting, plus the curing time specified in the resin instructions.
Is this a children’s craft kit?
Adults should handle resin preparation. Follow the resin label, age guidance, ventilation requirements, and included instructions before starting the activity.
Are the lights included?
Yes, a warm LED fairy-light string is included. The listing does not specify its power source or whether batteries are supplied; contact us if you need this detail before ordering.